Showing posts with label banner. Show all posts

Sunday, September 24, 2017

How to Make a Banner with Burlap and Fabric


I made several banners for my daughters wedding.  I made some in blue and some in green, since those were her colors. 


I cut out the colored fabric, leaving an inch on each side of the burlap.  I used a cup to round off the edges.  You can make a pattern and then use it for each piece, so they'll all be the same size.   I then cut the other fabric and used wonder under to attach it to the colored fabric. 
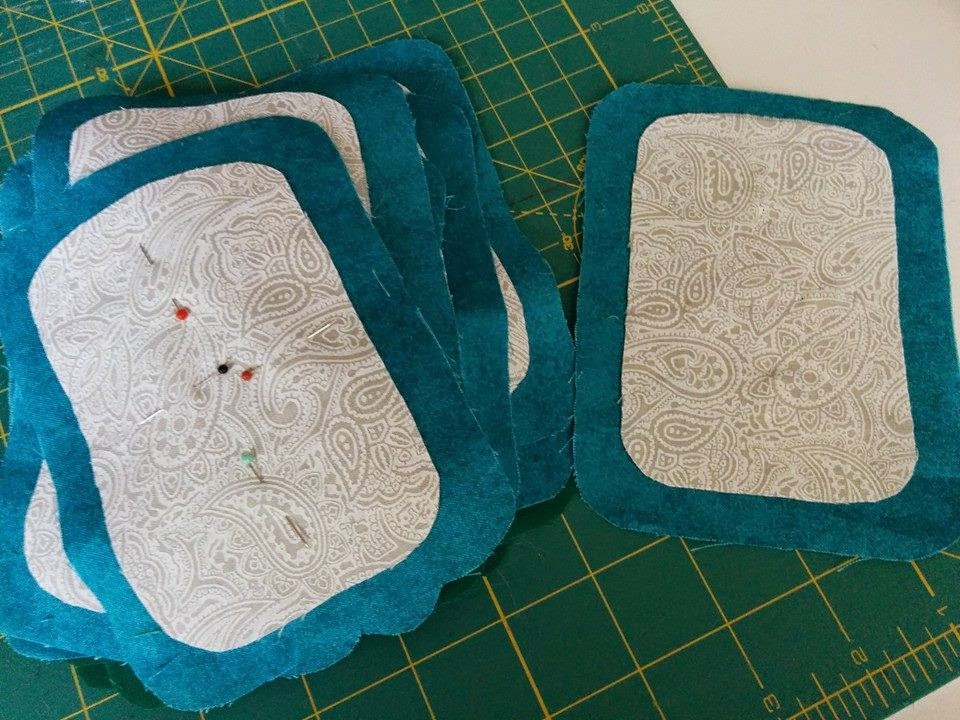


I used a zig zag stitch to attach the fabric. 


I actually drew out my own letters.  I made 9 squares on each paper and then filled them in with the letters I needed.  Using a ruler, it really wasn't hard to do.


I attached the letters with wonder under and then used a zig zag stitch to attach them in the center.
 
 
I added a zig zag stitch to the burlap, to keep it from unraveling.  Then, I folded them over about an inch.   This is where the ribbon or burlap will go through. They just need to be tight enough so they won't move around.


I attached the fabric to the burlap and again used wonder under and the zig zag stitch. 


 I used matching ribbons to hang them. I love the way they came out. Here's a few of the ones I made. I liked having the colored fabric on them.  It just added a little more color for some of the tables.


Wednesday, February 12, 2014

From Miss to Mrs. Banner Tutorial

One of the projects I made for my daughters bridal shower was a banner.


This was very simple to make.  Here's my tutorial for it.


Cut out 16 panels  I used placemats for these. From the pint in the middle to the top, it's 6".  Width is 4"


I used a pink strip of fabric, no need to sew the sides.  It was 120" (10 ft. long)


Fold each piece over on top about 1 inch and pen.


Sew each piece down or you could also glue them down.


I hung the banner up to see if I was happy with the way it looked, before adding the letters.


Next,  draw each letter out on paper.  Pin the letter to your fabric and cut them out. 


Pin letter to Under Wonder and cut them out..


Iron the Wonder Under to each letter.  Then, peel off the backing and iron them to each panel.


I don't have pictures of the next steps.  I bought a bottle of gold glitter paint and painted around the edges of each letter.  To separate the words, I cut out pink polka dot circles and and traced them with the paint also.  I also put a dot of paint in the middle of each circle..  Be sure and let them dry completely, so they won't stick to each other.


And that's it.