Showing posts with label DIY Wedding. Show all posts

Sunday, March 16, 2014

Signs for the Wedding

For my daughter, Cassie's wedding, we had to make quit a few signs. 

Since we were doing sparklers, we needed a sign to put on the gift table letting the guest 
know what time to expect this, so they would stay around.  I got the frame for $2.00 at a 
thrift store.  I spray painted the frame with metallic silver paint.  Then, I sprayed painted it 
with silver glitter.  The stand was painted purple and then sprayed lightly with glitter paint.


Cassie ordered the sign off of Etsy.


We needed frames for the Bride and Groom chairs.  I bought them at Hobby Lobby 
on sale.  I spray painted them with the metallic paint and silver glitter paint.


Cassie order the signs from Etsy.  We hot glued ribbon on the back and then these 
were tied to their chairs.  Hopefully, I will have pictures of their chairs soon.


This frame also came from Hobby Lobby.  This was also spray painted.  This is the 
sign the girls carried down the isle, right before Cassie came out.


Cassie wanted a sign to hang in a tree.  We had a piece of plywood, so we just cut it down to 
the size we wanted.  I primed it first and then painted it silver metallic.  I wrote the words out 
in pencil first and then went over them with purple paint and a paintbrush.


We needed a sign for the kids pails, so we came up with this sign.  This frame was 
purchased from a thrift store.


This frame was also purchased from a thrift store and the sign from Etsy..  
This one was placed on the photo booth table. 


I made a chalkboard out of a large frame I found at Goodwill.  I painted the glass with chalk paint that I had 
tinted.  It took several coats.  I spray painted the frame also had a stand for this one.


To surprise the bride and groom, I took several frames, painted them silver or purple, and put their younger aged pictures in them.  Hopefully, we will have pictures from the photographer soon and I can add them.  We placed them on a grand piano, near the candy table.  It was really cute.


Monday, March 10, 2014

Preparing for a Wedding - Part 2


In my last post I listed steps for preparing for your wedding and reception.  Here they are again, but briefly.  If you want to see more details, go to this page.

Step 1 - Decide on the size of the wedding.   How many people will be in the bridal party and how many guest you will be inviting.

Step 2 - Choose a place for the wedding and venue.

Step 3 - Find your dress.

Step 4 - Choose your colors for the wedding. 

Step 5 - Pick out bridesmaids dresses.

Step 6 - Caterer

Step 7 - List of who else you need to hire.

Step 8 - Planning of wedding and reception.

Something that helped a lot, was that we opened up a Facebook group for me, Cassie and the bridesmaids.  This helped us to all communicate with each other so much easier.

We also had one for the bridal shower, which Cassie was not included on.  You can see the bridal shower  Over Here.

In my last post I talked about the tables.  Next, would be the wedding ceremony.   We made a floor plan of where the ceremony would be.  (We also made a floor plan of the reception). We talked about how the groomsmen would come in and the groom.  Cory, the groom, would walk down the isle with his mother, seat her, and then join his groomsmen.  Cassie wanted to include her two daughters in the ceremony.  She had them coming in right before her, carrying a sign.  We also placed the bridesmaids in order.

We needed a table for the gifts and decided who would be in charge of this table.  We added the gift box and a centerpiece to this table.

Later, we added more details to this as well.  We made a sign, "Happily Ever After Begins Here" and wanted to hang it in the tree, as you first came thru the gate.
Some of the trees had lights, but we wanted more, so we added more stringed lights, along with extension cords.

We had seen several ideas on pinterest for some of the things she wanted, mainly the signs, and we added pictures of those to our notebooks.  We ended up with different signs, but this gave us the idea for later.

As time went on, we had more of an idea of how we wanted everything.  Here is a list of what we would need for the ceremony and the reception.  Some things changed on this list, but it kept us focused on what needed to be done.


CEREMONY: 
Lights for trees                                                                                
Girls Sign
Tree Sign
3 extension cords
Garter
Girls' Dresses and Hairbands
Sand
Letter from Cory to Girls
Girls' Bracelets
 
GIFT TABLE:   8 Foot Table
Small silver pail with branches
Card Box   
Kids Sign – Take a pail
Pails with Coloring Books, crayons, candy, etc.

PHOTO BOOTH:  8 Foot Table  
Vase with branches
Props
Book
Papers
Glue Sticks
Pens
Sparklers Sign

CAKE TABLE: 
Cake - Creation Cakes
20” cake stand
Cake Cutter
Cake Topper

CANDY TABLE:  8 Foot Table  (In 3 Boxes)
Thank you Sign
Letters
Candy
Bags with Charms
Tongs
Vases with Branches
Grooms Cake
Cake Stand
Cake Cutter
 
13 TABLES –
Centerpieces with Vases
Large Mirrors 

BRIDE AND GROOM TABLE –
Bride and Groom toasting glasses
Chair Signs – “Still Into Him”  “Still Into Her”
Centerpiece – 2 different ones
  
OTHER
4 Trees
Champagne glasses for toasting

DEPARTURE –
Sparklers
Purple Pail
Sand
(I had the Maid of Honor and one of my other daughters be in charge of their car) 
 

We also had an open bar.  We had to pay for a bartender and we had the venue provide the ice and bartender.  From what I read on the internet, you should plan on one drink per hour for each guest.  Some of your guest will drink more and some will drink less.  We made a list of drinks and what we would need for the bar area.


BAR -
Tip Jar
Liquor
Coke and Sprite
Cups for Beer
Cups for Liquor
Menu Sign and Stand

Check out the bar menu HERE and see how much we bought.
Cassie worked on half of this, while I worked on the other.  She also got the garter,  jewelry for the bridal party, dresses for her two little girls, and hair stuff.   Cory picked out the suits for the guys.  They had to decide on what shoes everyone would wear.  It seemed like the last few weeks, we were both out shopping all the time.

Cassie later changed the position of the Bride and Groom table and put the cake in front of their table.  I think that was a good move.  It looked really pretty.


Come check out Part 3 over here.


Monday, February 17, 2014

Measurements for Candy Table

My daughter is getting married in 12 days!  Today I set up the candy table one more time, just to make sure I had everything.  I had found some really good deals on large vases and purchased them.  My daughter brought over some more candy, so I really needed to double check what we had.


I bought most of the candy from Candy Warehouse, Oriental Trading, and Party City.


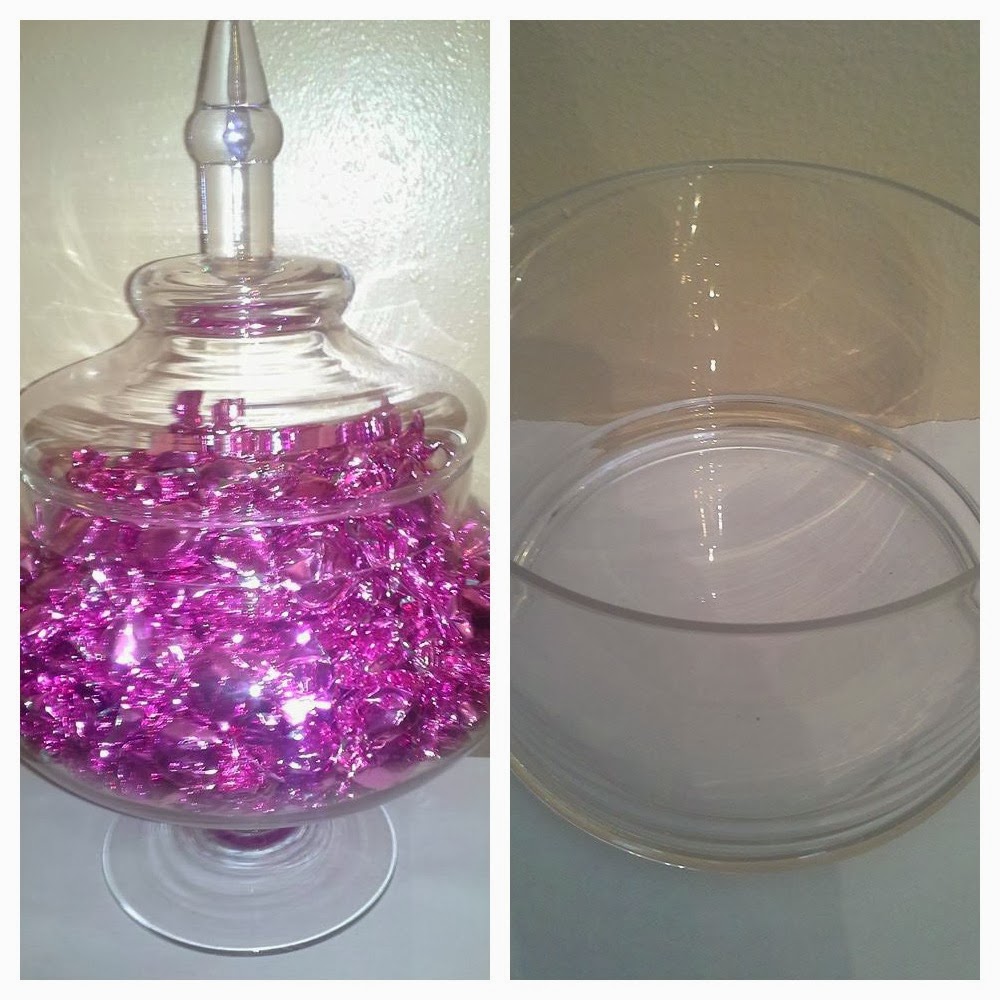
The hardest part for me was trying to figure out how much candy I needed to fill each vase.  I thought I would try and help you out, by showing you how much candy I put in each one of my vases.

In this beautiful vase, I put 6 lbs. of lemon drops.  The vase is 6 inches high (from where candy is only)
 and 11 inches wide (longest part).  I was fortunate enough to find two of these.  
The second one holds 3 lbs. of taffy.


There are 1 1/2 pounds of marshmallow puffs in this jar.  The jar is 8" tall and 6 1/2" wide.


This large vase hold 5 1/2 lbs. of taffy.  The vase is 12 inches tall and 6 inches wide from the top.


This vase holds 2 lbs. of Hershey's Kisses.  The vase is  6" tall and 5" wide.


Both of these vases hold 2 lbs. of almonds.  The vase on the left is 5" tall and 4" wide.  
The one on the right is 6" tall and 4" wide.


 This vase hold 2 lbs. of wrapped mints. 


This vase came from the Dollar Tree, along with the candlestick.  It can hold 1 lb. of mints. 
 It measures 4" tall and 4" wide at the top.  It will also hold 1 lb., 5 oz. of m&m's.


This vase hold 5 lbs. of the tiny purple heart candies.  They are in a plastic bag in this picture.  The 
suckers will be on the top.  I could have probably put another pound in this vase.


I bought this vase at Michaels, with a 50% off coupon.  It will hold 42 ounces of 
Sixlets, which I got at Party City.


Hope this will help someone.  I will be posting pictures in a couple of weeks of the wedding and the reception.  I'll be able to show you then, just how the candy table looked.  Wish us luck!  It will be here before we know it!