Thursday, February 13, 2014

Creating the Perfect Bridal Shower


My daughter, Cassie is getting married on February 28, and her bridesmaids and I  gave her a bridal shower.  I really wanted to make it the best shower ever for her.

Cassie wanted to have an elegant brunch, with pink and gold colors.  So, the first thing the Bridal Party and I did was to figure out what types of food we wanted to have. My niece, Leslie, who is the Maid of Honor, started a group on Facebook, so we could put this all together.

For the menu, we chose:
Pancake Skewers;
Doughnut holes
Waffles
Fruit Tray with yummy dip;
Casserole;
Bagels and Muffins
Cupcakes
Orange Juice
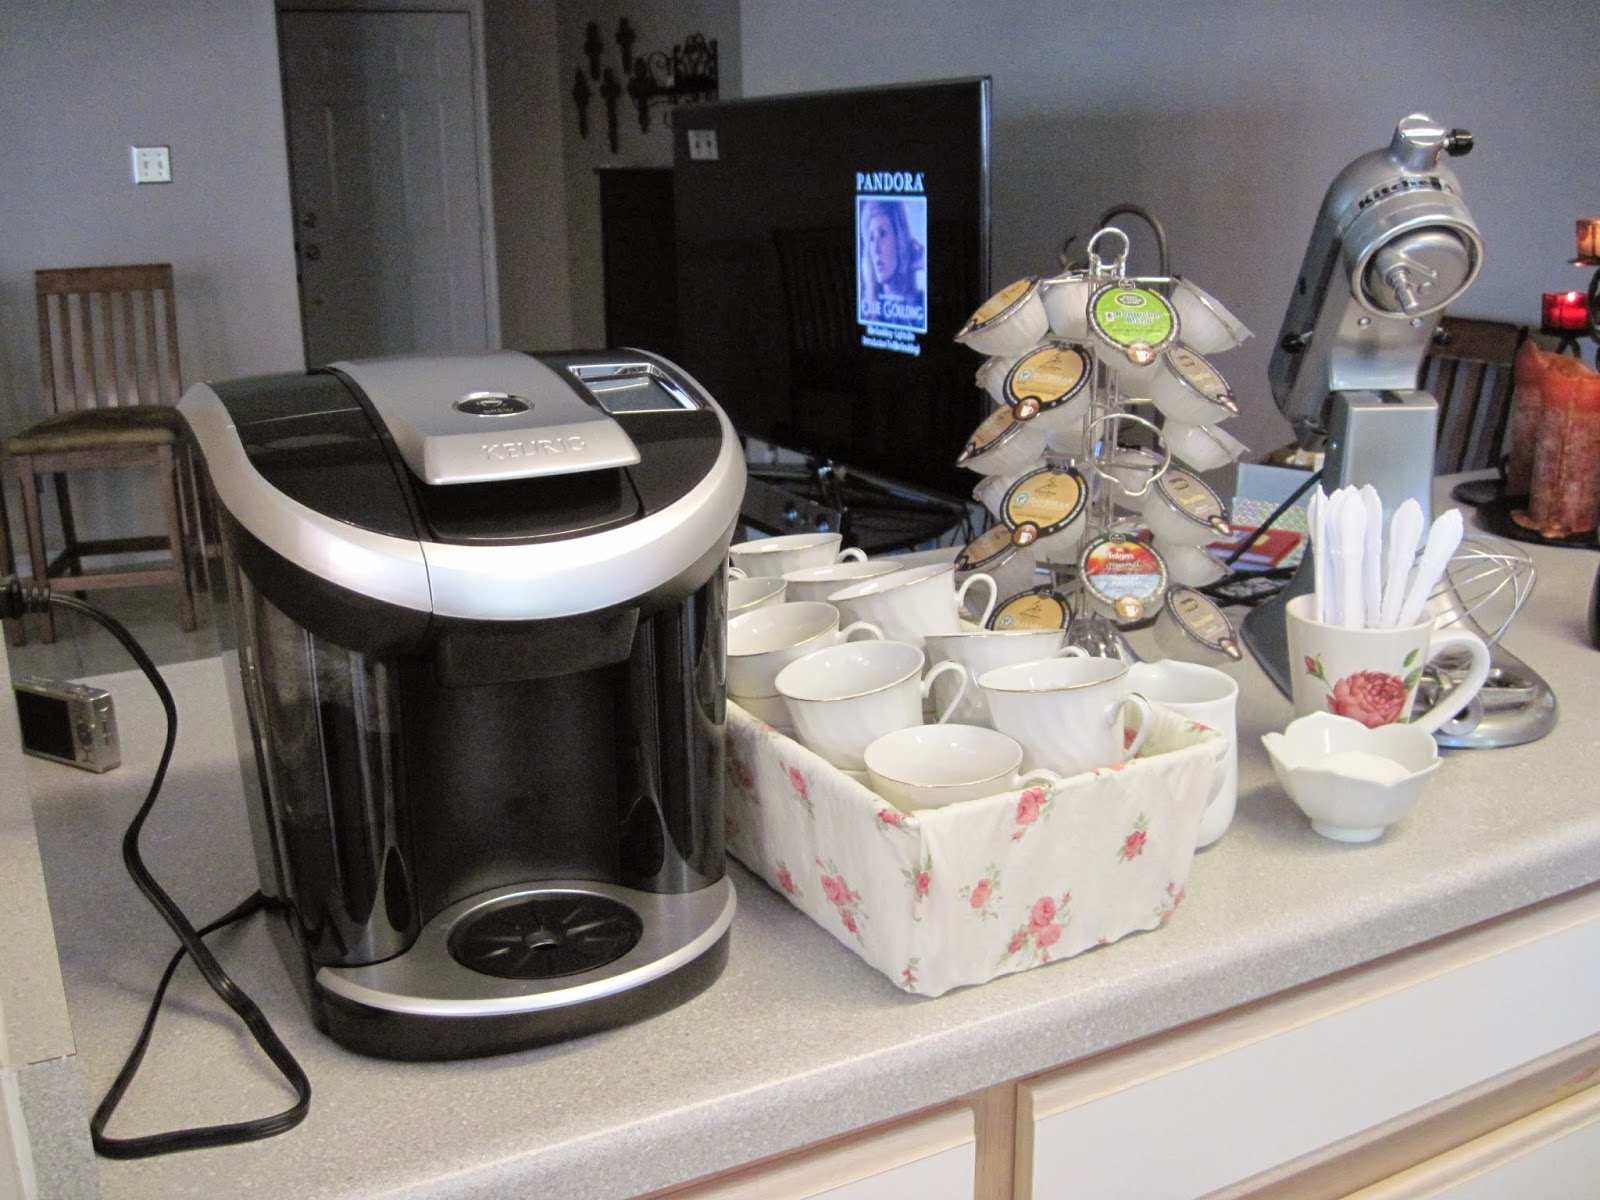
Coffee
Strawberry Margaritas

Next, we had to figure out what condiments we would need, such as jelly, cream cheese, syrup, sugar, cream, whip cream, etc.

To make it easier on everyone, we divided up the food menu between us.  I took the menu and decided what bowls, trays, etc. that we would need.

I went to thrift stores to see what I could get.  Here are a few of the things I found.  I know, they don't look all that attractive right now, but I knew they were the right pieces we would need..


Once I had everything, I started putting it all together.

Here are the trays I made.  You can see the tutorial of them here.

This first tray was made for the Fruit and the yummy Fruit Dip.  The second one was made for the cupcakes.


And now, it's the day of the shower!  I was really nervous about pulling this all together.  I wanted it to be so perfect for her.

We started by adding a few decorations.  I  used the left over fabric I had and made this
little banner for the room.


Here's my "From Miss to Mrs." banner.  I have a tutorial of it here.


I found all the prize gifts at thrift stores or dollar stores. Nothing was over $3.00.


 Here's when we first started putting it together.  I found the tablecloth at Party City for a 
reasonible price.  Because of the large table we had, I bought two of them and we added 
another one to the other sides


Here's another basket I made.  You can go here to see the baskets I decorated..  I bought all the
cups at a thrift store too.


  Here's the beautiful bridesmaids getting it all together.


Once we started adding the food, it started to come alive.  


All the bowls and plates came from thrift stores.  I added candlesticks to some of the bowls, to give more dimension.


All these dishes were bought at thrift stores.. 


Cupcakes and PANCAKE SKEWERS.


Fruit Tray with Dip and Fresh Waffles and Doughnuts


Do you remember the ugly cup I got at the thrift store.  I paid $2.00 for this. Just spraying it with gold paint did wonders for it.


Drink station was a success.


Food was a success.


After everyone served themselves to food and drinks, we played a few games.  The day before, 
Leslie asked Cassie's fiance some questions about him.  Then, we asked Cassie the same ones 
to see just how much she really knew him.

We thought it was only fair to then see how well everyone knew Cassie.  This was a lot of fun.


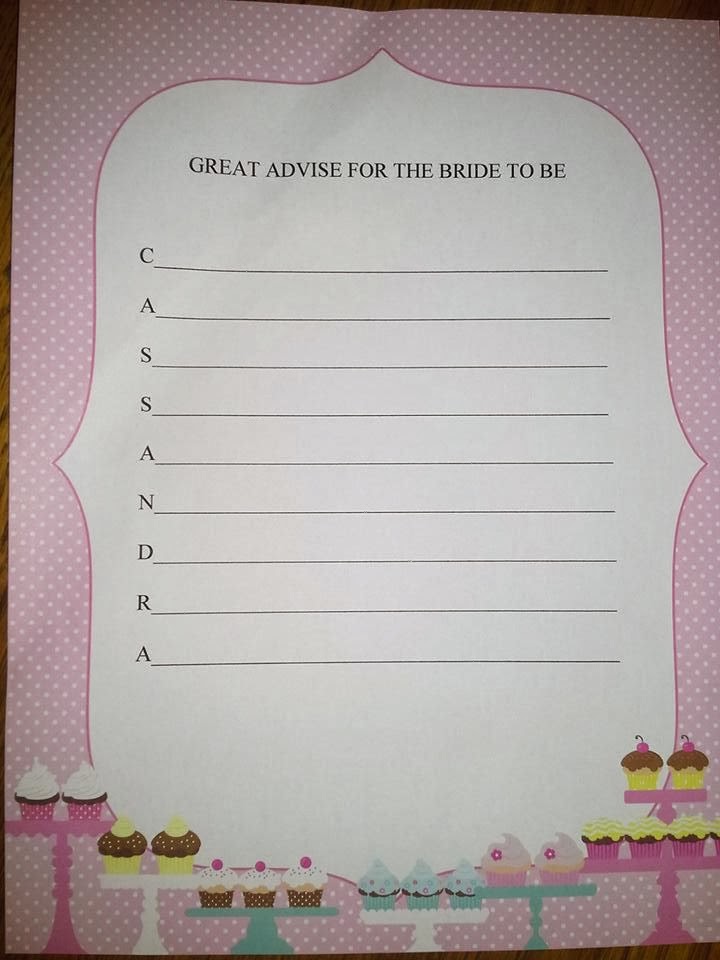
Last game we played was to give Cassie advise.  There were some really great answers.
Some really funny ones too.


The little box on the table is the white box I bought.  I just changed the fabric on it.   When guest arrived, we had them fill out an index card with an idea for a cheap, but fun date.  Now it is Cassie's keepsake box.for the shower and wedding.


Cassie got lots of great gifts.  


I think the shower was a great success and everyone had a lot of fun.


Wednesday, February 12, 2014

From Miss to Mrs. Banner Tutorial

One of the projects I made for my daughters bridal shower was a banner.


This was very simple to make.  Here's my tutorial for it.


Cut out 16 panels  I used placemats for these. From the pint in the middle to the top, it's 6".  Width is 4"


I used a pink strip of fabric, no need to sew the sides.  It was 120" (10 ft. long)


Fold each piece over on top about 1 inch and pen.


Sew each piece down or you could also glue them down.


I hung the banner up to see if I was happy with the way it looked, before adding the letters.


Next,  draw each letter out on paper.  Pin the letter to your fabric and cut them out. 


Pin letter to Under Wonder and cut them out..


Iron the Wonder Under to each letter.  Then, peel off the backing and iron them to each panel.


I don't have pictures of the next steps.  I bought a bottle of gold glitter paint and painted around the edges of each letter.  To separate the words, I cut out pink polka dot circles and and traced them with the paint also.  I also put a dot of paint in the middle of each circle..  Be sure and let them dry completely, so they won't stick to each other.


And that's it. 


Saturday, February 8, 2014

Preparing for My Daughter's Wedding

So, my daughter, Cassie, is getting married in 20 days.  I have been so busy planning this wedding.  So many days I am out shopping for supplies and Cassie is out doing the same thing.  I have spent nights working on things.  Here is a little sneak peak on what we are doing.


The candy table has been a challenge.  We had to decide what types of candy she wanted and find the ones we could to match her colors.  We had to figure out what bowls we wanted and how much of each candy would fit in them.  I plan on making a chart to make this a little easier for other people, after the wedding.
I bought all the bowls at thrift stores.  I paid only $5.00 each for both of these bowls.  I found two other beautiful bows that I paid $4.00 each for and I saw them at Hobby Lobby for $40. 


 These letters will be used on the candy table as well.  I have been spray painting for weeks now.  
So much of the stuff for the reception is going to be sprayed with silver glitter paint.  


 Here's all the candy packed up.  It's in 2 bins.  We took pictures of how we wanted the bowls and 
candy on the table and placed them in here, so we know how we want it quickly on the big day.  
Of course, I bought two more big bowls since then, so there may be a little adjusting.


 Here's all the photo booth stuff.  Yes, those are glue sticks that I have painted.


 I have packed all the photo stuff in this box and it's ready to go.


 Here's the frames I have painted.  Can't wait to show you what we are using them for.


And here's some more of the stuff I'm working on.


Well, I need to get back to work.  I have much more do to.  I am looking so forward to this day and just praying we have everything figured out.

If you would like to see more, please go to How To Prepare a Wedding - Part 1


Wednesday, February 5, 2014

Decorating Containers for Bridal Shower


I recently helped with my daughter's bridal shower.  We were using real cups (that I got from the thrift store).  I wanted to put them in something nice.  I found this basket at a thrift store and the cups fit in it very nicely.  So, I just needed to figure out how to decorate it.


I had some fabric, it was actually a blanket that, yes, I got from a thrift store.  I cut it to fit the basket and then sprayed in with a spray adhesive.


Next, I put a piece of cardboard on the bottom, so it would be flat.


I cut a piece of fabric to go around the bottom.  Before I put that one in, I wrapped the fabric around all four sides.  I placed it on the bottom and brought it to the inside and then, under the cardboard.  I used the spray adhesive for this too.


I had a lot of help!


And here it is.  The cups fit perfectly in it and it matched the decor.


I, of course, bought these baskets from a thrift store.  I needed one for the bagels and one for the silverware.


I spray painted them white first.


I ended up just using the big one.  I found a basket I liked better for the napkins and silverware.  
I place fabric on the bottom, just to keep it smooth.


I measured the length of the basket, added 1 1/2 inches.  I measures the width of the basket, plus enough for the fabric to fold over on each side.  I cut two pieces of fabric this side, placed them together, right sides facing each other and sewed them all the way around, leaving a 2 inches hole.  I turned it inside out and then sewed a seam (see picture) all the way around.


Here's the basket with the bagels and muffins.  You can see the basket on the right with the silverware and napkins.  I made a cloth to fit inside of it, the same as the other one.  I think they add a lot to the table.


Tuesday, February 4, 2014

Pantry Remake on a Budget


On an earlier post,, I shared with you a bunch of things I had found on people's curbs. It was during bulk pick up. We had just moved into a house we are renting. 6 months prior, we had sold almost everything and moved in with my daughter. So, we are starting over again, on a very tight budget. We have a big pantry area, but no shelves or anywhere to put food. I found a couple of bookshelves, but they weren't very pretty.  I decided I would make them work.


On this one, we had to add a piece of wood to the back of it.  Of course, I found that on someone's curb as well.


I spray painted them all black.  I love the Rustoleum paint.  I had to buy 2 cans to paint all the shelves.


Just painting them made them look a lot better.


Next, I took contact paper and added them to the shelves.


Here's my pantry now.  I have shelves for my food and I think it looks so much better.  It cost me around $10.00 to have shelves and fix them up.