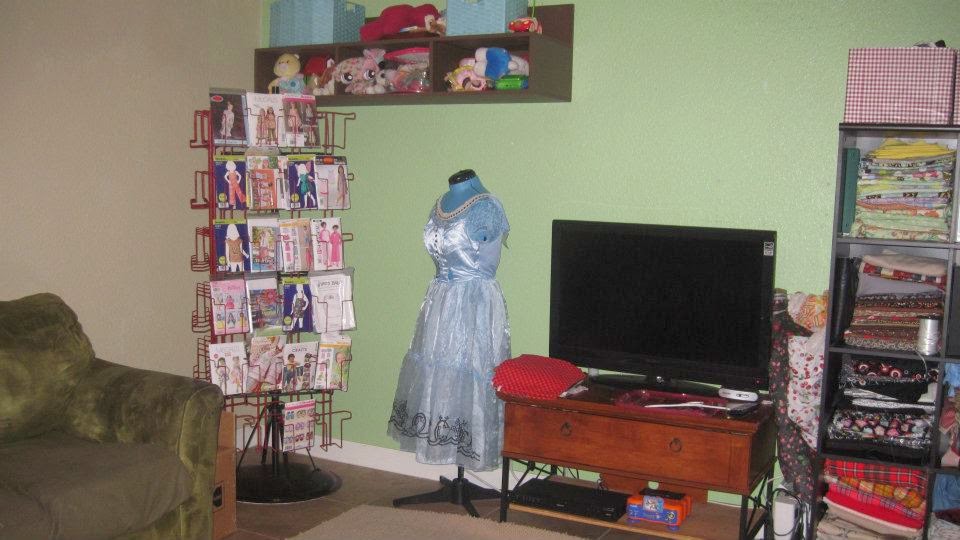
So, here are my before and after pictures. We get to start out with the before. My fabric was everywhere. Nothing was pretty about this room.
Not getting much use out of this ironing board. Don't you just love my peg board? NO, me either!
I do like the spools of thread hung on the wall. That's about all I love. Oh, and the young girl behind the door. hehe
Here's my after pictures. I did several things in this picture. I painted the white shelf black with a spray paint. The boxes on the top have all my scraps. I used contact paper from the Dollar Tree and covered them. I made the pictures and hung them up. One thing I really loved about this sewing room was the ironing board. My dear husband took it apart for me and screwed it on top of the dresser. (Sorry this are such horrible pictures).
I took all the fabric out of the shelves and then color coordinated them when I put them back.
Here's a better look at the ironing board. I might have to do this again. Since we moved, I didn't have a place for it and we sold the dresser.
I covered the bulletin board with fabric I already had.
That's Sophie with the dress on. Unfortunately, when we moved, I had to sell her. I still miss her!
Here's the "after" pics. You can also see the finished bulletin board. I added ribbon to it. Check out all the other little details I did.
I bought this at a thrift store for $1.00. It has worked great for my bias tapes.
This is two spool holders. I painted them black.
Close up of my inspiration board.
These cans were $1.00 each. I have elastic in one and ribbons in the other.
My husband built the shelves and added them to the right side of the dresser that has the
ironing board on it. I bought the little cans at thrift stores.
I painted the pattern holder red.
I bought a spice rack at the thrift store and spray painted it red. I added felt to the tops
of the lids with a little decoration. I put a button in the center on each one, showing what
color of buttons are in each container.
I added the ruffle on the front of this desk, since it was all open.
I made this with to baking pans and a round can on top. I used candlesticks for the center
pieces. This has been great for holding my pin cushions, tape measures, etc. It's a great place to
put things when too busy to put them away.
So, I went from this....
To this.....
Much better I would say. I amcurrently in the process of fixing up my sewing room. So, hopefully I will be done soon and can share my new sewing room with you. Hope you got some ideas for your space.


I like what you did with the ironing board. Was thinking of doing something like this myself. I would think the dresser would get really hot and possibly ruined from the steam of the iron. Did you find any problems with the ironing board being directly on top like that?
ReplyDelete