
Of course, the first thing you need to know is your colors. Her colors for the wedding were purple, silver and a touch of pink. So, I knew these would be the colors we would use.
If you are looking for an inexpensive way to do this, then you have come to the right place. I spent many trips to thrift stores first. I was able to find some really nice vases at very reasonable prices. I really hit the jack pot with several of the bigger ones. I only paid $4.00 to $5.00 for each. I know several of these would cost $40.00 in the store.


Some of the smaller ones, I added candlesticks to them to give them height. I used gorilla glue and they held together very well.


I went thru each one of these sites and pasted pictures of the items I wanted. Then I printed them. I set up a table with the vases I had at the time and placed everything where I thought I wanted them. I taped the pictures of the candy to the vases.
The water bottles in the back represent the letters "SWEET". I had to add a smaller table on the left, to make the table the right size. Anyways, this helped me visualize what it would look like. We did end up changing a few things, but it still helped. Since I was able to find larger vases, some of the vases changed.

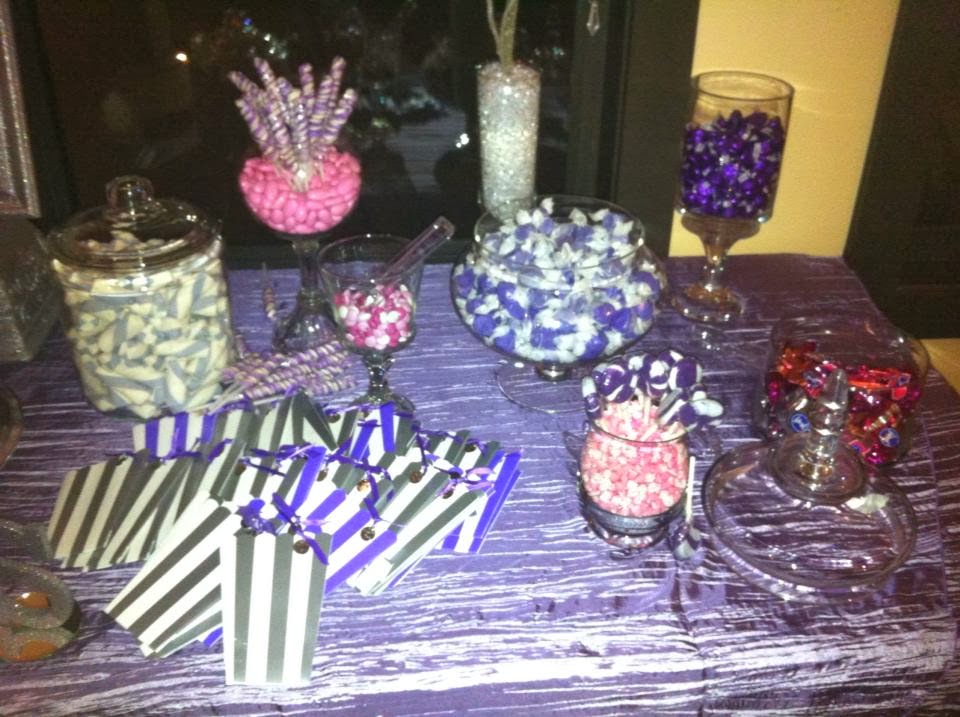
Next, I wanted to give the table dimension. I did so by having different sizes of vases; along with adding suckers to some of them. Besides, the suckers just made it look cute!

When I had all the candy and vases, I set them up on the table again. My daughter had decided to have the letters, "SWEET", up in the front. We changed the location of the sign and added two of the centerpiece branches. After I had it the way we wanted it, I took pictures and made copies of them. I placed them in the bins, so I could look at them when setting up. This was VERY helpful! You definitely want to do this.
Left Side

Middle

Right Side

Here are the candy bags we used. They were purple and silver. We added little charms that I got from OrientalTrading.com that said "Thank You". We used a single hole punch to make the holes and tied them on with purple ribbon.

We bought cork letters that spelled out "SWEETS". I spray painted them with silver glitter paint, which was used for everything in her wedding. I bought tiny mirrors from Michaels. We didn't glue them together, until we set everything up. I was afraid they would get messed up before then.


We added the groom's cake to this table as well. The song from Paramore, "Still Into You", was their theme. They actually recorded this song with both of them singing. I was so proud of her!


It took about 5 bins to pack up all the candy and the vases. I wrapped each vase pretty good, so they wouldn't get broke. You can see the copies of the pages I made in the first bin.


+of+candy+table+packed.jpg)
The table was beautiful!


No comments:
Post a Comment