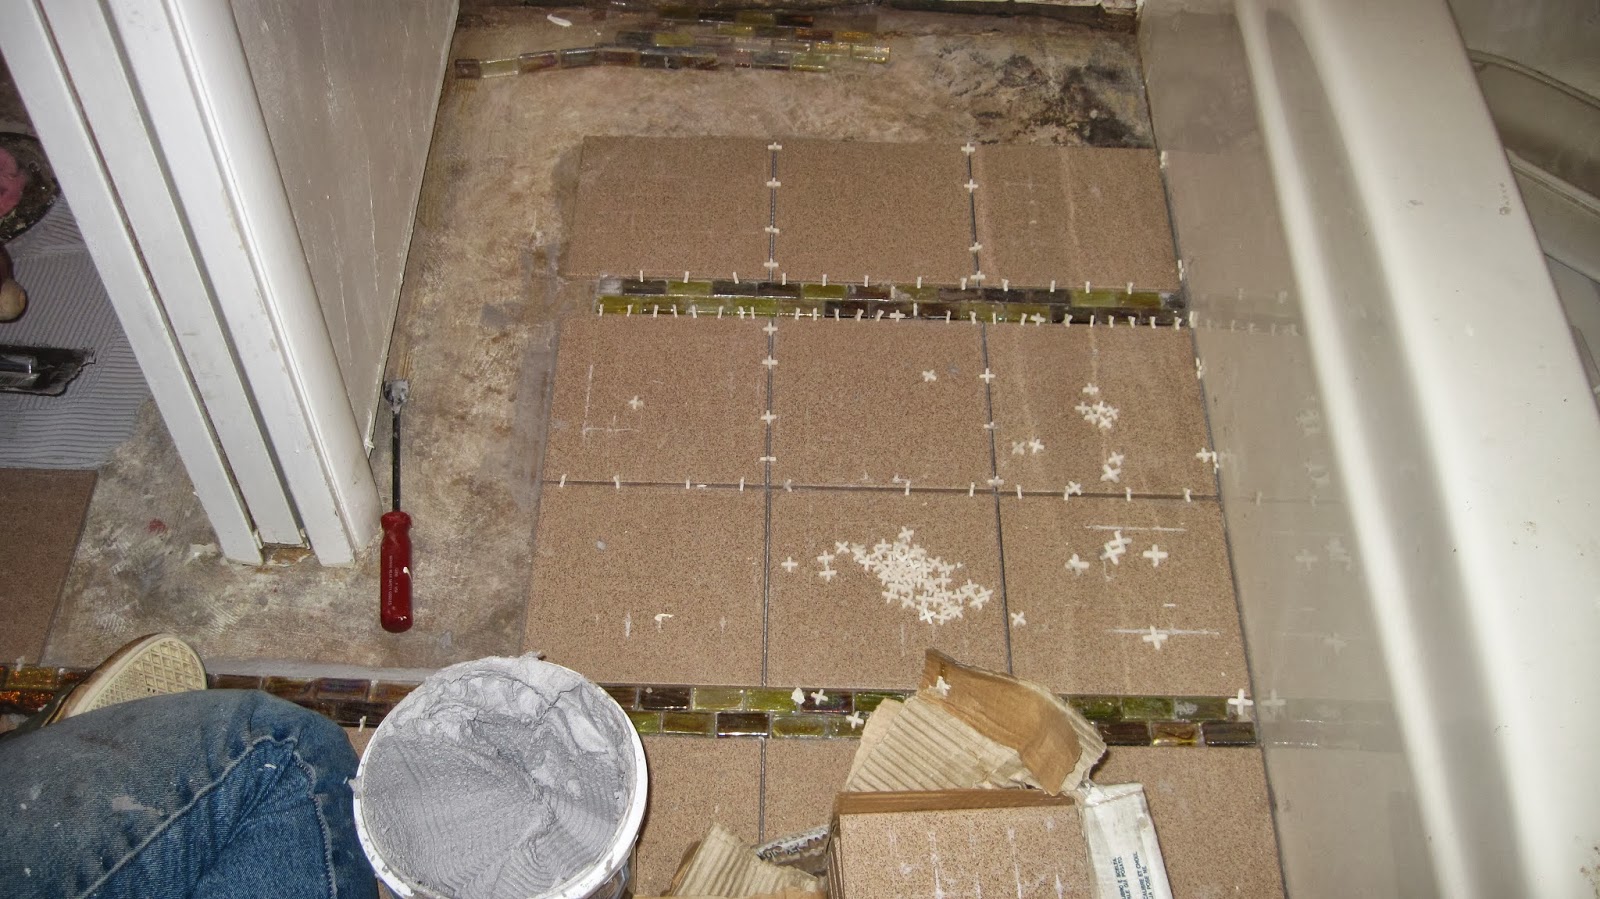
Now that everything was cleaned up, it was time to lay the tile. We bought the square tiles at Habitat for Humanity for $20.00. Cory's dad had glass tiles he gave us. We had to come up with the design first, so we laid tiles on the floor to see how it would look. Because of the design we came up with, we needed to start in the path of the door between the two rooms. We drew a straight line from one side to the other. You can see the line in the first picture. This will keep the tiles even.

First thing. was to make sure tiles were even, after laying them. As you can see, my husband, Robert, was happy to lay his first tiles!

We used a premixed thin set (mortar), which is so much easier. We applied the thin set to the floor (it's like mud), and then we spread it out with a trowel. Once you have an even coating, you just go over it with the trowel, to make the lines. We applied a small amount of thin set to the back of the tiles too. This is called back buttering. In some areas, where the floor isn't even, you may have to back butter them more or less. Just keep using your level to check on them.
Once you lay the tile down, slightly move it a little to embed the tile into the thin set. After second tile is laid, apply spacers. You need to put one on each end. The size of spacers will just depend on how close you want your tiles. It really just a matter of preference


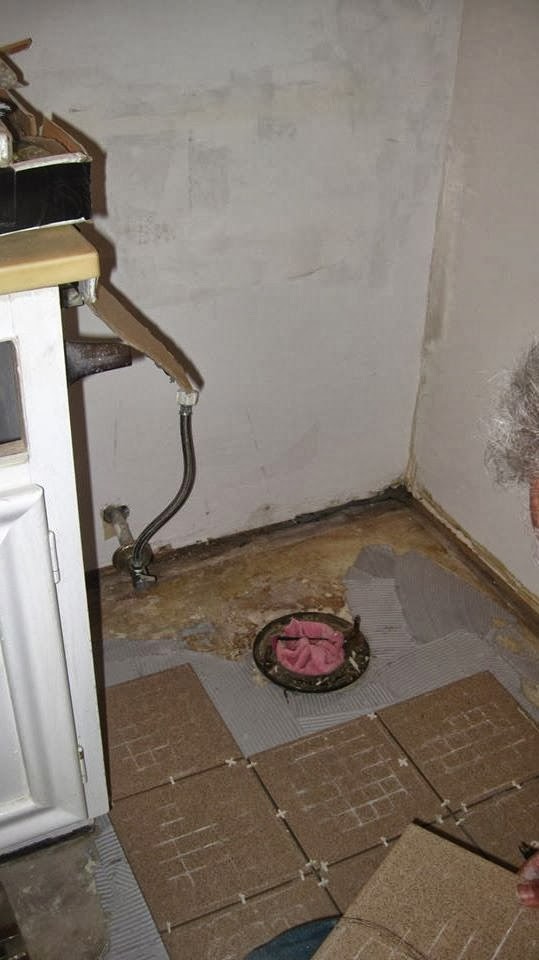
Because we stopped before all the tile was laid, we made sure to clean up all the excess thin set around the tiles.


We had to remove the wallpaper and fix the walls here too.
Well, this is it for now. Tomorrow is Saturday and we will finish the tile then.

No comments:
Post a Comment